This guide will help you connect to Pritunl OpenVPN server from pfsense.
I was looking for an easy way to make new OpenVPN users, adjust server settings, view logs, etc. I was thinking how nice it would be if I could do all of this from a web interface, so I began searching around for what was available. To be honest there were not many options out there, especially not mature ones. From what I could see it came down to OpenVPN Access Server, or Pritunl. I ended up going with Pritunl because it was free and open source, no user restrictions, decent documentation, etc.
This guide does not cover the actual Pritunl server setup, you can reference their docs for that. What this guide covers is connecting pfsense to your new Pritunl server.
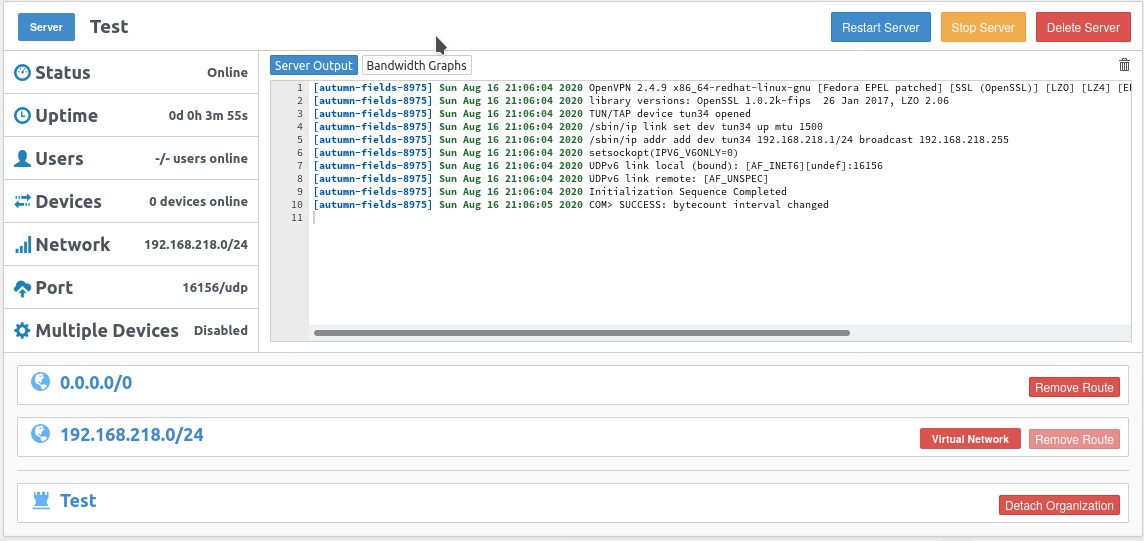
- First login to Pritunl and note down which port, network, Encryption Cipher, and Hash Algorithm you are using for your OpenVPN virtual network. We will need this for step 8.
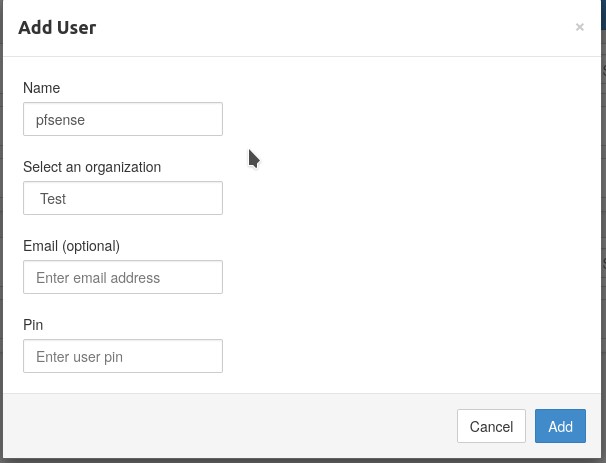
- Make a new client only for pfsense, name it pfsense or something else descriptive. To go this, in Pritunl go to ‘users’ on the top bar, then click ‘Add user’.
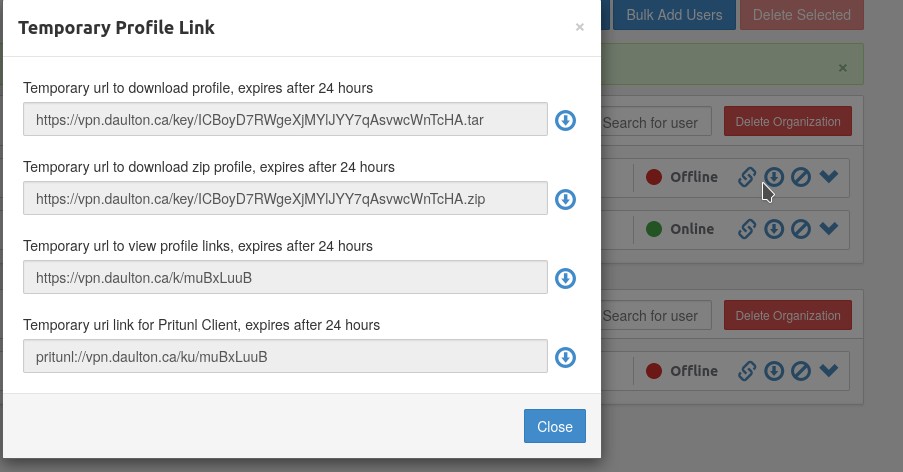
- Download the client configuration, we will need the cert details for the next step.
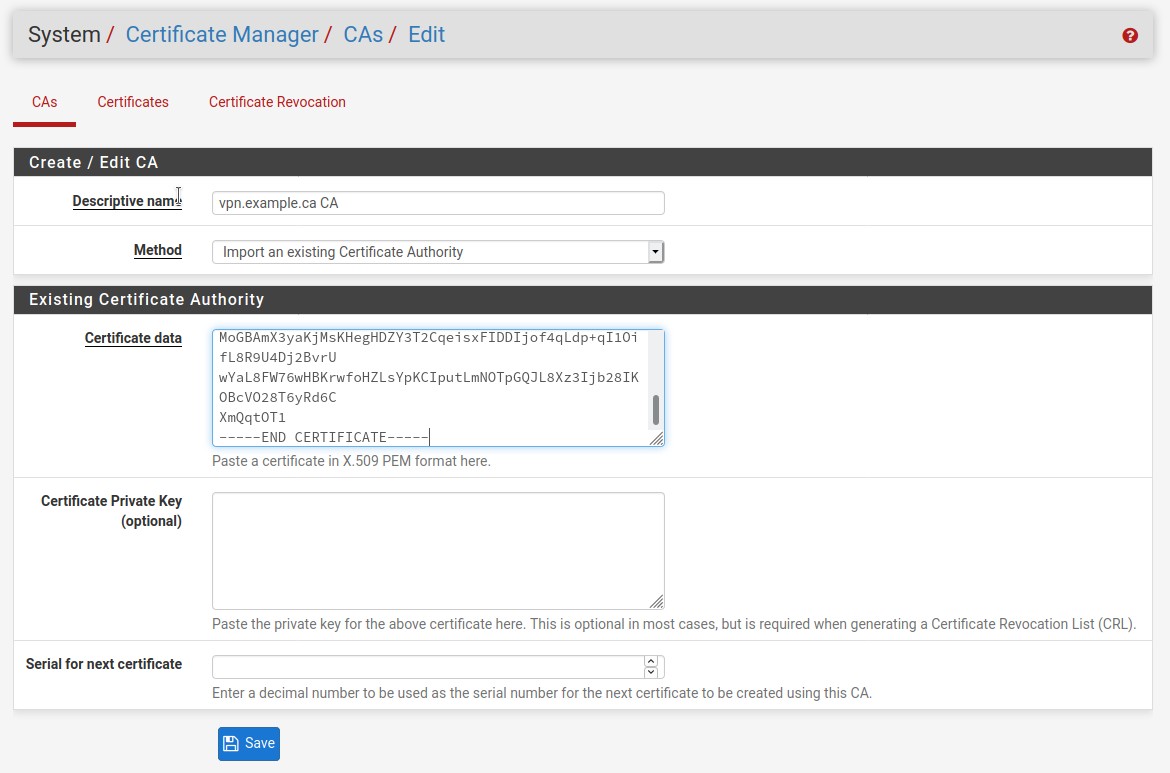
- We need to do two things before we can begin creating the OpenVPN client connection, we need to make a new CA and server certificate in the Certificate Manager. This is needed before making the OpenVPN client connection. When you use the .ovpn file directly the cert information is in the config already, but with pfsense we cannot do that. Instead we need to put that same certificate information in a different place. Lets start with the CA.
Between <ca> and </ca> copy the from the beginning of the line where it says BEGIN CERTIFICATE and to the very end of the line where it says END CERTIFICATE. Assure to include all the dashes, do not have a space at the beginning or end of the dashes.
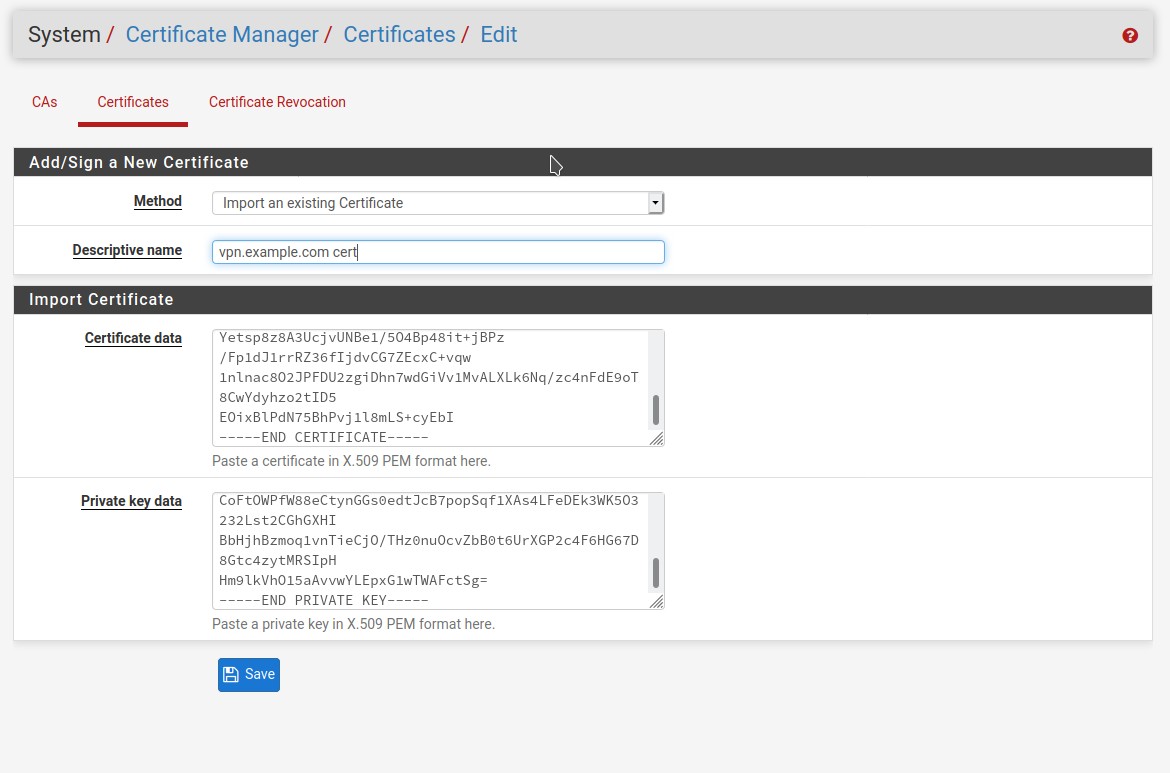
- After the CA is done, its time for the server certificate.
Between cert> and </cert> copy the from the beginning of the line where it says BEGIN CERTIFICATE and to the very end of the line where it says END CERTIFICATE. Paste this into the Certificate data field.
Do the same for the Private key field, copy between <key> and </key>. Assure to include all the dashes, do not have a space at the beginning or end of the dashes.
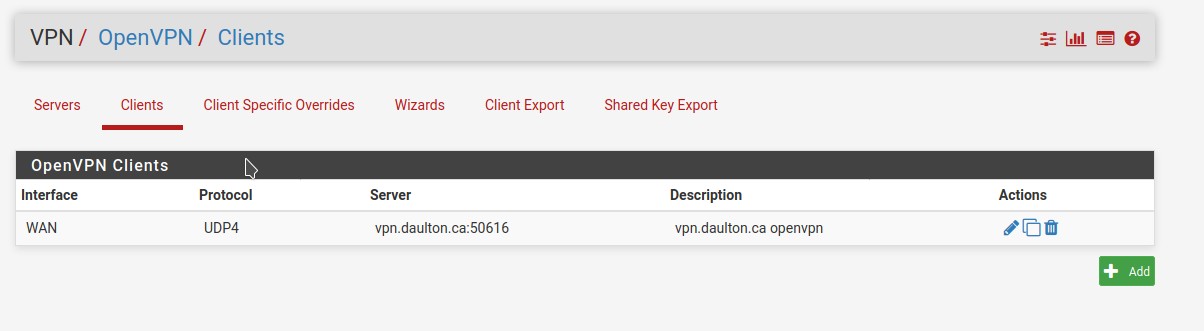
- Go to the VPN tab and then select OpenVPN. In the client tab select to make a new client.
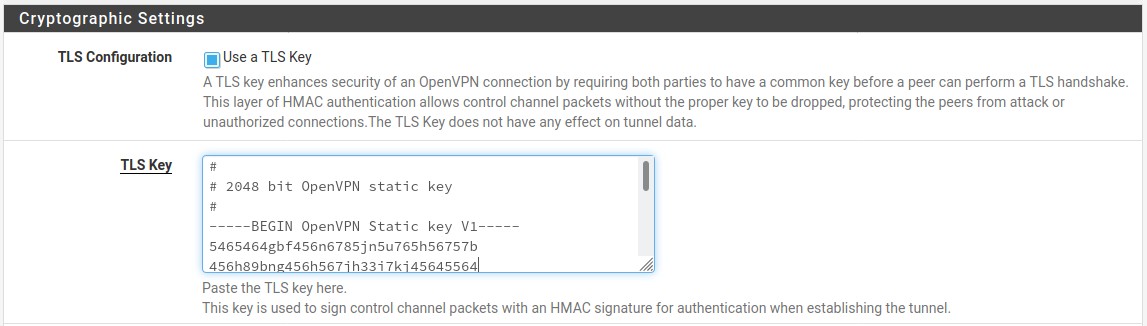
- Before starting with the general configuration, we need one more detail from the OpenVPN client config and that is the static TLS key. Copy between
<tls-auth>and</tls-auth>, assure to include all the pound signs, do not have a space at the beginning or end of the dashes or pound signs.
- For the client configuration fill out the following details. Keep the default settings for everything else that is not mentioned here. Change these settings only.
| Config | Description |
|---|---|
| Server host or address | Enter the DNS name or server IP of your Pritunl server. |
| Server port | Enter the Pritunl OpenVPN server port number you noted down from step one. |
| Description | OpenVPN client to Pritunl VPN server |
| Automatically generate a TLS Key. | Uncheck this checkbox. |
| TLS Key | We will copy the TLS key from step seven into this field. |
| Peer Certificate Authority | Select the CA from the list that you made in step four. |
| Client Certificate | Select the CA from the list that you made in step five. |
| Encryption Algorithm | Defaults to AES-128-CBC in Pritunl, GCM is used when available. Enter the Encryption Cipher you noted down from step one. |
| Auth digest algorithm | Defaults to SHA-1 in Pritunl. Enter the Hash Algorithm you noted down from step one. |
| IPv4 Tunnel Network | Enter the network address you noted down from step one. |
| Don’t pull routes | Check this box. |
| Gateway creation | IPv4 only |
| Verbosity level | 3 (recommended) |
- Click save and then go to check the status and log pages in PfSense. The connection should establish. If not check the logs in both Pritunl and pfsense.
Notes:
- Once the client is configured, you need rules setup to direct traffic to this new network interface.
- pfSense OpenVPN docs